Onboarding — get set up from zero (Mac)
Welcome. This guide gets you from a brand-new Mac with nothing installed to a working setup where an AI assistant (Claude Code) talks to the Neumo Design System directly.
It's written for designers and engineers alike, and it assumes no prior experience — you may have never opened a terminal, and that's fine. Follow the steps in order, top to bottom. You only do this setup once.
Prefer to watch first? Here's the whole setup, start to finish (with narration):
This guide covers macOS only for now. Windows and Linux walkthroughs are on the roadmap. If you're on one of those, ask your lead for help in the meantime.
Time: plan for about 30–45 minutes the first time. A few steps download things and can sit for a minute or two — that's normal.
What this setup is
This guide sets up the design engineer's path — Claude Code in your terminal, wired directly to the Neumo Design System. It's close to the metal: the most flexible and most accurate way to put the design system to work, and frankly the bleeding edge of design-to-code right now.
Everything you generate is grounded in the design system, so it comes out mostly right on the first pass — not 100%, but close, and easy to finish:
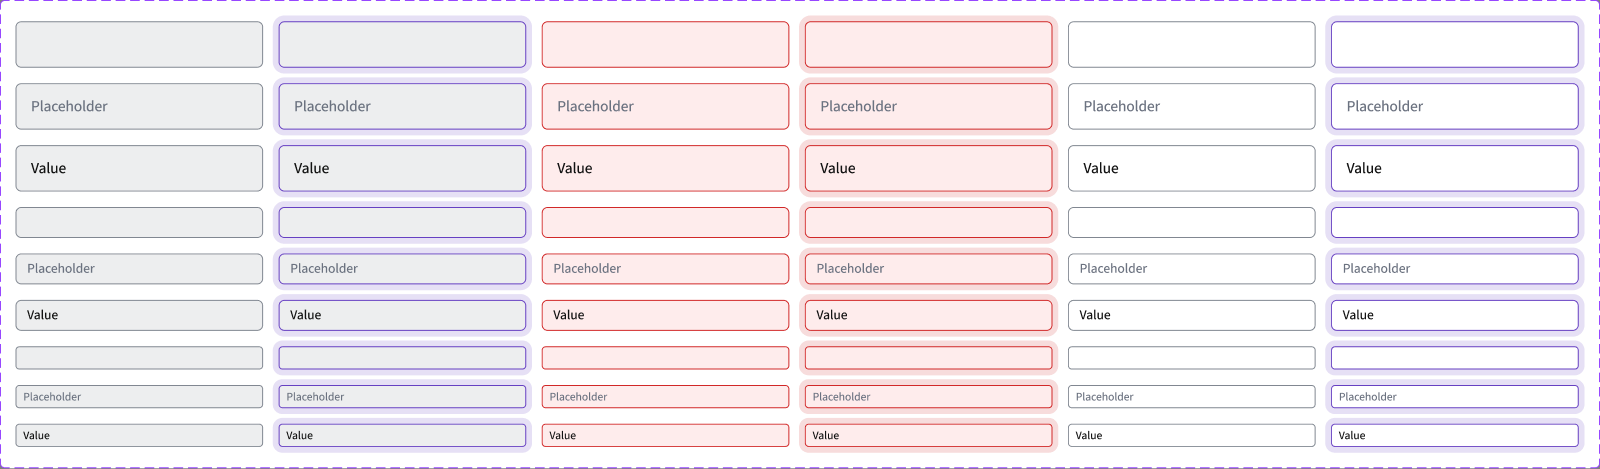
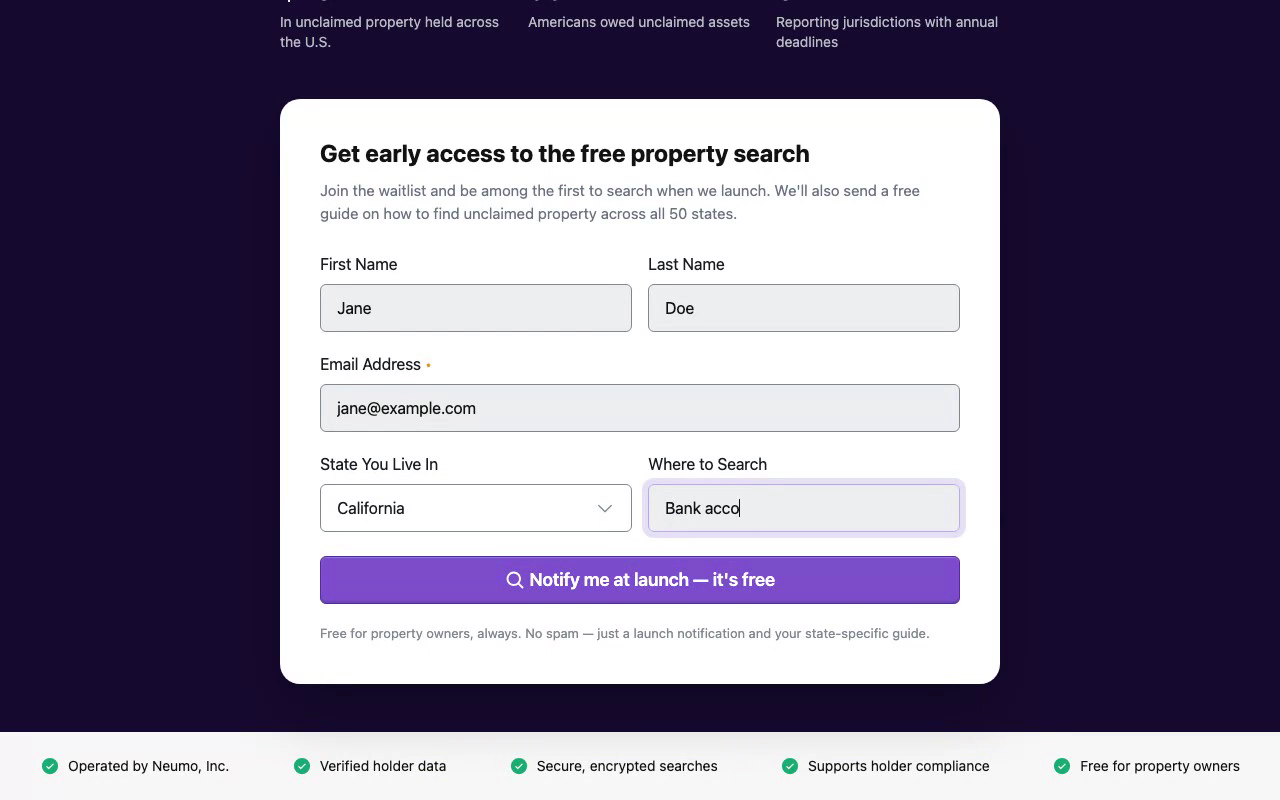
- Designs — on canvas or in code. Produce UI in Figma or in any framework and language (we've shipped React, Vue, and .NET), all pulling from the same system.
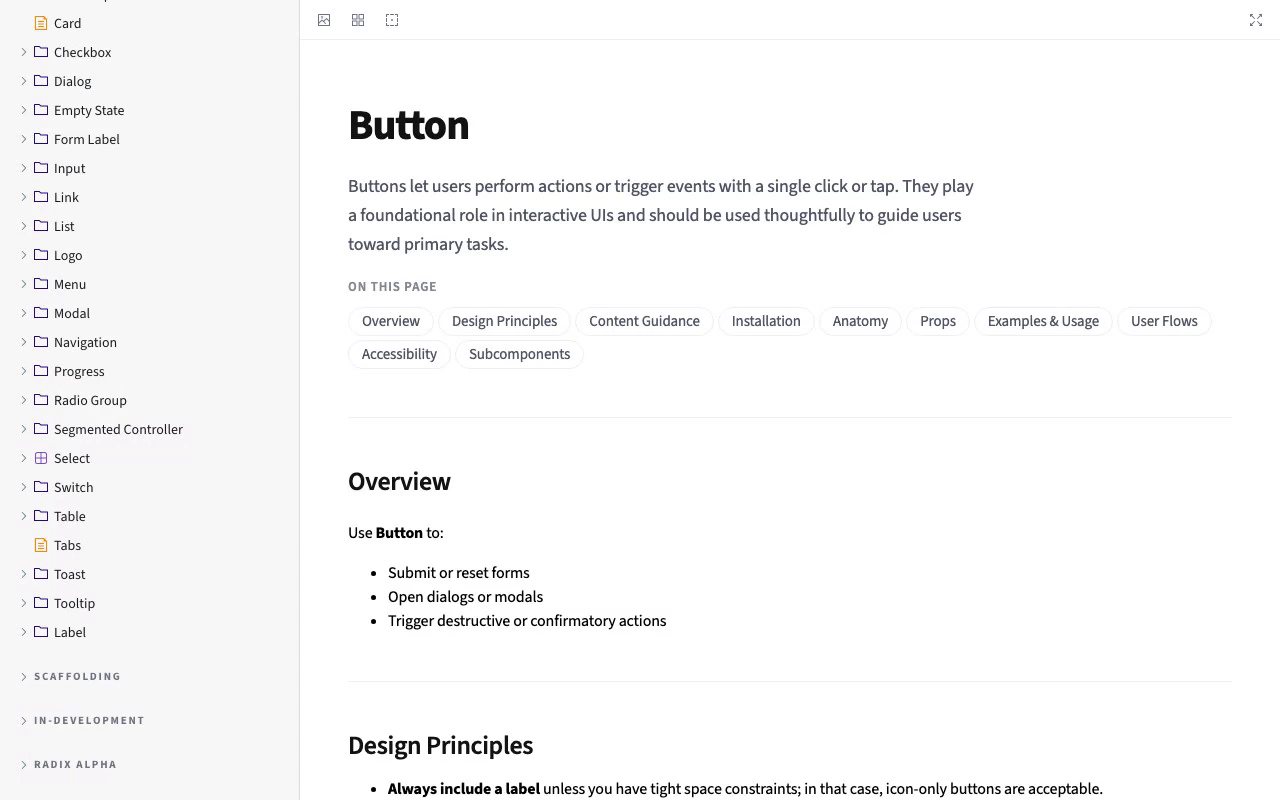
- Documentation. Generate docs from the system itself — token references, component usage, content placement.
- FigJams. Spin up mind maps, icebreakers, and diagrams instead of building them by hand.
- Slide decks. Assemble presentations that use the design system (this rollout deck included).
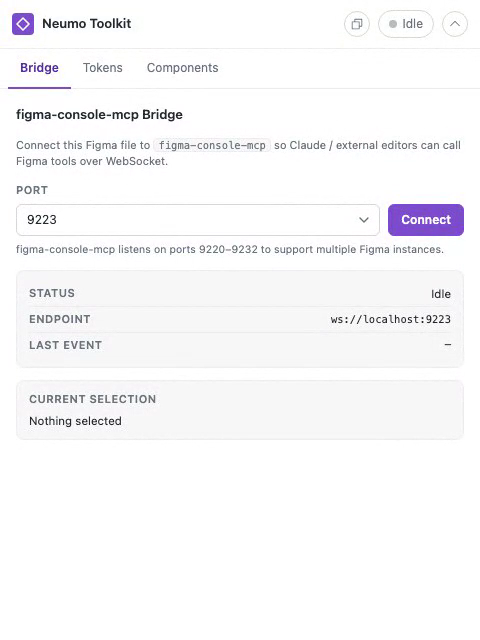
- Your own tooling. Build things like the Neumo Toolkit Figma plugin, or stand up your own MCP servers.
This isn't the only path. Lighter prototyping tools — Lovable, Figma Make — are quicker to pick up and great for plenty of work; they're just not as precise or flexible as this. Guides for those are on the way (see the map below).
So take what you need and leave the rest. This setup will always be here to experiment with, and we keep these docs as verbose and machine-readable as we can — for you and for the AI reading alongside you.
Before you start
- You need to be able to install software on your Mac (you'll be asked for your Mac password a couple of times). If this is a company-managed laptop and installs are locked down, contact IT first — some steps will fail without admin rights.
- You need a Claude account — a Claude Pro/Max subscription or a Claude for Work (Team/Enterprise) seat. Ask your lead which one we use.
- You need to be a member of the
@kofilenpm organization (for the private MCP server). Not sure, or don't have npm access? Message Scott Stroupe on Teams to be added before you reach Step 7.
Plain-English glossary
You'll see these words below. Quick, no-jargon definitions:
- Terminal — a Mac app where you type commands instead of clicking. It looks like a plain text window.
- Command — a line of text you type into the terminal and run by pressing Enter.
- Homebrew — a tool that installs other developer tools for you, cleanly.
- Node.js — the engine our tools run on.
- Git — the tool used to download and track code projects.
- Repo — short for "repository": a project's folder of code, stored on GitHub and downloaded to your Mac with Git.
- npm — where code packages are downloaded from (comes with Node.js).
- Token — a secret password-like string that proves you're allowed to download our private packages.
- Claude Code — the AI assistant you run in the terminal.
- MCP server — a small program that lets Claude Code use external tools — here, our design system.
Tip: in the terminal, you type or paste a command, then press Enter. If nothing seems to happen, it's usually still working — wait for the blinking cursor / prompt to come back before typing the next one. To paste, use ⌘V.
The onboarding map
What this hub will cover (this page is step 1; the rest link in as they land):
- Claude Code in the terminal — install the assistant and connect the design system. (This guide, below.)
- The Neumo MCP server — deep dive. (Setup is in Step 6 here; full tool reference on the MCP Server page.)
- Lovable — using the design system in Lovable. (Coming soon.)
- Figma Make — using the design system in Figma Make. (Coming soon.)
- Our setup — close to the metal — how the DS team works day to day. (Coming soon.)
Sections 3–5 aren't written yet — they're on the roadmap. Everything below is complete and verified.
1. Claude Code in the terminal (macOS)
What you'll have at the end
- Homebrew, Node.js, and Git installed.
- Claude Code installed and logged in.
- The Neumo MCP server connected, so you can ask Claude things like "list the design system components" and it answers from the real design system.
Step 1 — Open the Terminal
- Press ⌘ (Command) + Space to open Spotlight search.
- Type Terminal and press Enter.
A window opens with some text and a blinking cursor. This is where every command below goes. Leave it open for the whole guide.
First time seeing this? You type a command, press Enter, and wait until the prompt (the line ending in
$or%) comes back before the next one.
Step 2 — Install Apple's Command Line Tools
Fresh Macs need Apple's basic developer tools before anything else works. Run:
xcode-select --install
- If a window pops up asking to install, click Install and wait for it to finish (a few minutes), then come back here.
- If you instead see
command line tools are already installed, great — move on.
Step 3 — Install Homebrew
Homebrew installs the rest of our tools cleanly. Paste this whole line and press Enter:
/bin/bash -c "$(curl -fsSL https://raw.githubusercontent.com/Homebrew/install/HEAD/install.sh)"
- It will ask for your Mac password — type it (you won't see characters as you type; that's normal) and press Enter.
- It may ask you to press Enter to continue — do so.
Important — finish the setup it prints. On Apple-silicon Macs (M1/M2/M3/M4), Homebrew prints two "Next steps" commands at the end. Run them so your terminal can find Homebrew:
echo >> ~/.zprofile
echo 'eval "$(/opt/homebrew/bin/brew shellenv)"' >> ~/.zprofile
eval "$(/opt/homebrew/bin/brew shellenv)"
Verify Homebrew works:
brew --version
Expected: something like Homebrew 4.x.x. If you get command not found,
close the Terminal, reopen it (Step 1), and run brew --version again.
Step 4 — Install Node.js and Git
With Homebrew installed, this is one command:
brew install node git
Wait for it to finish, then verify both:
node -v
git --version
Expected: a Node version 18 or higher (e.g. v22.3.0) and a Git version
(e.g. git version 2.44.0). If node -v shows something lower than 18, run
brew upgrade node.
Step 5 — Install Claude Code
curl -fsSL https://claude.ai/install.sh | bash
Then close the Terminal and reopen it (this lets it find the new claude
command), and verify:
claude --version
claude doctor
Expected: claude --version prints a version number. claude doctor runs a
health check and should show mostly green/OK. If claude: command not found,
close and reopen the Terminal once more, then retry.
Step 6 — Log in to Claude
From anywhere, start Claude Code:
claude
The first time, it opens your browser to sign in.
- Sign in with the Claude account from "Before you start."
- If the browser doesn't open, press c to copy the login URL, then paste it into your browser.
Expected: after signing in, you land at the Claude Code prompt (you can type
a message to it). Type /exit and press Enter to leave for now.
Using an API key instead of a subscription? Set
ANTHROPIC_API_KEYin your environment before runningclaude. Most people should use the subscription login above.
Step 7 — Get your npm token (for the private MCP server)
Our MCP server (@kofile/neumo-mcp-server) is a private package, so npm
needs proof you're allowed to download it. You set this up once.
Go to npmjs.com and sign in with the account that's a member of the
@kofileorg.Click your avatar (top-right) → Access Tokens.
Click Generate New Token → Classic Token, choose type Read-only, give it a name like
neumo-ds, and click Generate.Copy the token now — you can't see it again after you leave the page.
Back in the Terminal, save it (replace
PASTE_TOKEN_HEREwith what you copied):npm config set //registry.npmjs.org/:_authToken=PASTE_TOKEN_HEREConfirm it works:
npm view @kofile/neumo-mcp-server versionExpected: a version number prints. If you see
404or401, the token or your org membership isn't right — see Troubleshooting.
Never put this token in a file you share or commit to a project. The command above stores it in your private
~/.npmrc, which is the right place.
Need more detail or hit an error here? The npm access token guide covers this step on its own, with a troubleshooting table.
Step 8 — Get the project onto your Mac
You need the design-system project (a "repo") on your machine. You'll need
access to the kofile/design-system repo on GitHub — if you don't have it,
ask your lead.
Easiest — let Claude do it. You installed Claude Code back in Step 6, so you
can hand this whole step to it. Start Claude anywhere (claude) and ask:
"I don't have Git yet. Install Git and the GitHub CLI, sign me in to GitHub, then clone
kofile/design-systeminto my home folder and move into it."
Claude installs Git and gh, walks you through the one-time browser sign-in,
clones the repo, and drops you in the folder — no Git knowledge needed. When
it's done, skip to Step 9.
Prefer to run it yourself? The manual path uses GitHub's CLI, which handles login for you:
brew install gh          # install GitHub's command-line tool
gh auth login            # follow the prompts: GitHub.com → HTTPS → login in browser
When gh auth login asks, choose GitHub.com, then HTTPS, then
"Login with a web browser" and follow the steps. Once you're logged in,
download the project into your home folder:
cd ~
gh repo clone kofile/design-system
Expected: a new design-system folder appears. Move into it — this is where
the remaining steps run:
cd ~/design-system
Already have the folder (someone shared it, or you cloned it before)? Just
cdinto it instead. Tip: you can drag the folder onto the Terminal window to fill in its path, then press Enter.
Step 9 — Connect the Neumo MCP server
"MCP" lets Claude Code use the design system as a set of tools. You'll add the server to the project (the folder you're now in from Step 8) so your whole team gets it when they open the repo.
Add the server:
claude mcp add --scope project --transport stdio neumo-ds -- npx @kofile/neumo-mcp-server
That creates a .mcp.json file in the project that looks like this (you could
also create it by hand):
{
  "mcpServers": {
    "neumo-ds": {
      "type": "stdio",
      "command": "npx",
      "args": ["@kofile/neumo-mcp-server"]
    }
  }
}
Scopes — where the config lives and who sees it:
| Scope | Lives in | Who gets it |
|---|---|---|
project (used above) |
.mcp.json in the repo |
everyone who opens the repo |
user |
your ~/.claude.json |
just you, in every project |
local |
your ~/.claude.json (per-project) |
just you, this project only |
Step 10 — Verify it's working
Start Claude Code inside the project:
claude
The first time, it will ask you to approve the project's MCP server (a one-time trust prompt) — say yes. Then type:
/mcp
Expected: neumo-ds listed as ✓ Connected with a number of tools.
(From the Terminal you can also run claude mcp list to see the same.)
Now try it — ask Claude:
"Use the neumo-ds tools to list the design system components."
Expected: it responds with real component names from the design system. If it does, you're fully set up. 🎉
Troubleshooting
| What you see | Likely cause | Fix |
|---|---|---|
| A command "does nothing" for a while | It's downloading/working | Wait for the prompt to return before typing more |
brew: command not found |
Homebrew's setup line wasn't run | Re-run the three eval/.zprofile lines in Step 3, reopen Terminal |
command line tools are already installed |
Not an error | Continue to the next step |
| Password does nothing when typing | Terminal hides password characters | Keep typing and press Enter — it's working |
node -v shows below v18 |
Old Node | brew upgrade node, reopen Terminal |
claude: command not found |
Terminal not reopened after install | Close and reopen Terminal; re-run Step 5; try claude doctor |
/mcp shows No MCP servers configured |
You ran claude outside the project |
cd into the project folder, run claude again |
| neumo-ds shows ⏸ Pending approval | Project server not trusted yet | Approve the prompt, or run /mcp and approve |
| neumo-ds shows ✗ Failed to connect | Server didn't start | Run npx @kofile/neumo-mcp-server directly to see the error |
npm error 404/401 on the package |
Missing/invalid token, or not in the @kofile org |
Redo Step 7; if it persists, message Scott Stroupe on Teams to be added to the @kofile org |
npm whoami says 401 but your token is valid |
An old token in ~/.npmrc is overriding it (npm ignores .env) |
Re-run the Step 7 npm config set …_authToken= command to overwrite ~/.npmrc with the good token |
| Connection times out first run | npx is downloading the package |
Wait, or retry with MCP_TIMEOUT=60000 claude |
| Still stuck | — | Run claude doctor; inside Claude type /debug for detailed logs; ask in the team channel |
Where to go next
- Building an app with the design system — see the Demos (the same page rebuilt in React, Vue, and .NET). One thing to know up front: the
@kofile/*packages are private, so public CDNs can't serve them — you self-host the design system by vendoring it into your app (authenticate to npm → vendor the assets → point your app at the local copies → commit them). The .NET demo has a full step-by-step self-hosting walkthrough; the same shape applies to any stack. - Contributing / running the repo locally — build and run the design system itself (Storybooks + local MCP server): the Local development guide.
- MCP tools reference — every tool, with examples: the MCP Server page.
- Figma users — the Figma Toolkit bridges the design system into Figma.
- Component docs — the React and Web Components Storybooks.
What to use — and what's still growing
An honest read so you know what to reach for:
- Figma designs are the source of truth (~24 components, fully specced) — everything traces back here.
- React (
@kofile/gds-react) is the mature library (~40 components) and closest to full Figma parity. Default to React today. - Web Components (
@kofile/gds-wc) are the framework-agnostic path (~18 core components — button, input, select, checkbox, radio, slider, tabs, toast, tooltip, accordion, dialog, avatar…). They're growing toward React/Figma parity — reach for them when you're outside React (Vue, Angular, Svelte, plain HTML). Some richer components (table, list, card, modal, navigation, badge, banner…) aren't in WC yet; check the Web Components Storybook for current coverage. - MCP server and the Figma Toolkit are functional and actively improving — expect a few rough edges.
- Storybook docs, the demos, and this onboarding guide are ready to use.
Coming next
Planned sections that will appear here as they're written:
- Windows & Linux setup — the same walkthrough for non-Mac machines.
- The Neumo MCP server — deep dive. Every tool, real request/response examples, and common workflows. (Start with the MCP Server page today.)
- Lovable. Getting the design system into Lovable. (Coming soon.)
- Figma Make. Getting the design system into Figma Make. (Coming soon.)
- Our setup — close to the metal. How the DS team actually works day to day. (Start with the Local development guide — running the repo, both Storybooks, and a local MCP build.)
Verified against Claude Code v2.1.2xx (2026-07). If a command has changed,
claude doctor and the official docs are the
source of truth.